This post will serve as a quick tutorial to understand and use Amazon Kinesis Data Firehose. As a hands-on experience, here we will learn how to host a sample website using the apache web server on the EC2 Linux instance and collect the real-time logs of the website to AWS S3 using Kinesis Data Firehose.
Why this post?
Streaming data is data that is continuously generated by various data sources. AWS has a service known as Amazon Kinesis.
Using this service, the real-time continuous data can be collected, transformed, and stored in data stores. In further, these stored data can be visualized using visualization tools.
Examples of real-time streaming data are Log files generated by an application, Financial stock market data, IoT device data, etc.
About Amazon Kinesis
Amazon Kinesis has 4 different capabilities:
- Kinesis Data Streams — Used to capture, process, and store data streams.
- Kinesis Data Firehose — Used to load data streams into AWS data stores.
- Kinesis Data Analytics — Used to analyze data streams with SQL or JAVA.
- Kinesis Video Streams — Used to capture, process, and store video streams.
In this blog, we will see how to use Amazon Kinesis Data Firehose.
The Amazon Kinesis Data Firehose provides the facility to capture the real-time continuous streaming data, transform the data using lambda function, and store the data in data store. The various data stores are Amazon S3, Amazon Redshift, Amazon Elasticsearch Service, and Splunk.
For our example, we will be using Amazon Simple Storage (S3) as the data store.
To follow along, I assume that the reader of the post has an AWS account and is familiar with basic AWS services. Make sure the IAM user (preferably) or root user has full permission to access EC2 instance, Kinesis, IAM role, and S3.
Implementation
1) Set up the EC2 server
- a. Install AWS CLI. Launch the Linux instance and connect to the instance.
b. Install LAMP Web Server on the Linux instance, so that using the apache web server the sample website can be hosted.$ sudo yum install -y httpd24 php72 mysql57-server php72-mysqlnd
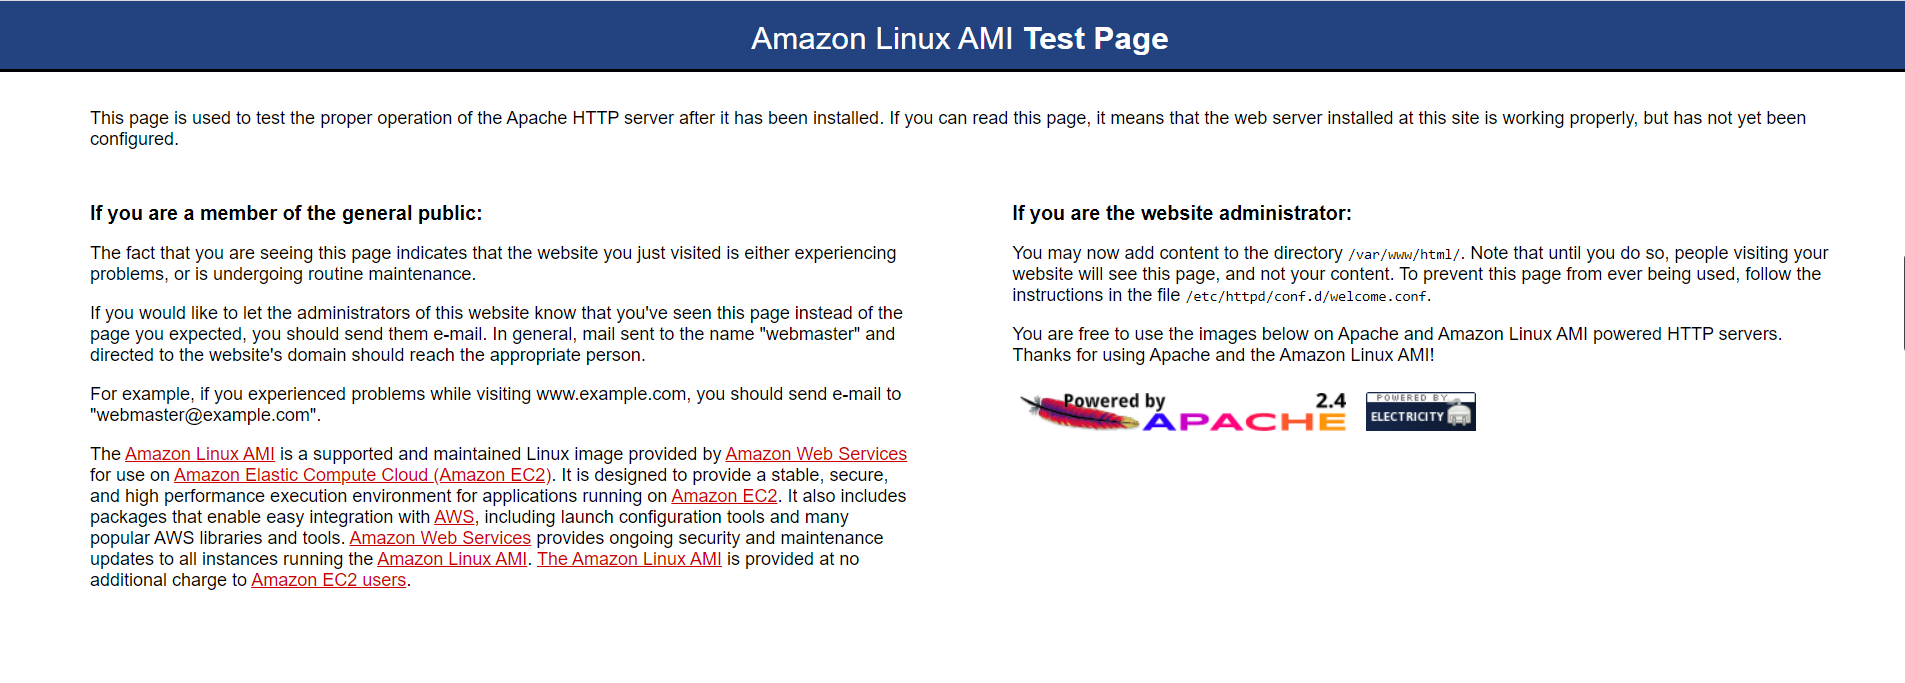
Verify if the webserver is installed correctly by using EC2 instance Public IP address with default port-80 on the browser (Public IP:80)

c. Navigate to path: cd /var/www/html
d. Download a sample website template. Here I am downloading a zip file from the site using wget.$ wget https://www.free-css.com/assets/files/free-css-templates/download/page253/estateagency.zip
e. Check if it is download in the html path using ls command.
f. Unzip the downloaded html template$ unzip estateagency.zip
g. Verify if the sample website is hosted correctly by using IP address/html template name on the browser (Public IP/EstateAgency).
h. The website logs will be in the path “/var/log/httpd/access_log”. For each click and use of the website, the related logs will be collected and stored here. Now we will see how to store these continuous logs. Before proceeding, change the permission of the file, so that the file will be in readable, writable, and executable mode by any users.$ chmod 777 /var/log/httpd/access_log
2) Setting up Amazon Kinesis Data Firehose delivery stream
- a. We will create Kinesis Firehose delivery streams via the console. We can update and modify the delivery stream at any time after it has been created.
b. Search for Kinesis in the console and click on “Create delivery stream”
c. Provide a name for the delivery stream and choose “Direct PUT”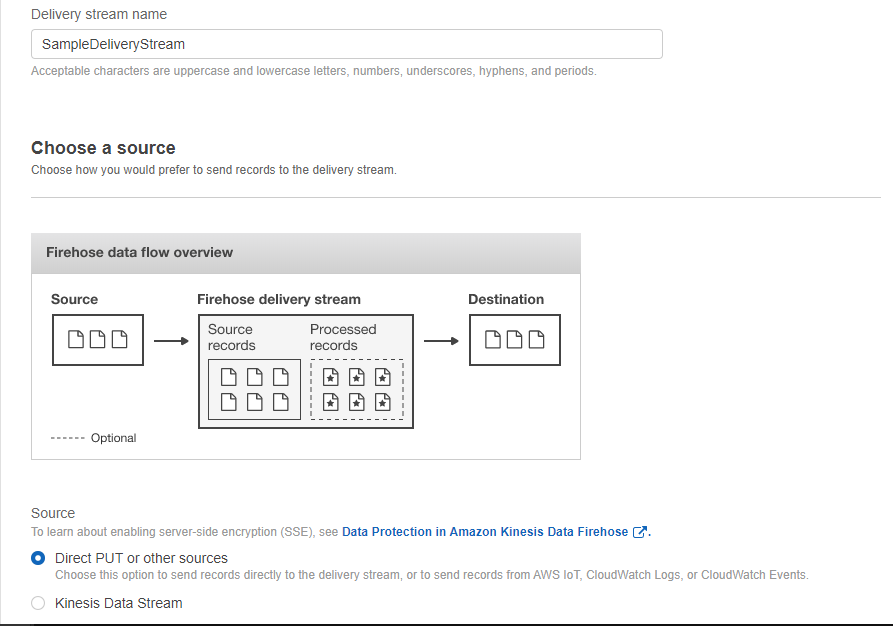
 d. Navigate to the next page. Keep AWS Lambda function in the disabled state. We can use the AWS Lambda function to transform records. In this example we are not doing it, we are directly collecting the logs.
e. On the next page keep S3 as the destination, create a new bucket, or choose an existing bucket.
f. On the next page, keep the Buffer interval to the minimum (60 seconds) and leave the rest things as default.
g. In the IAM role, click on Create new and give allow. New IAM role with required permission would create and will be assigned to this Kinesis delivery stream. Click Allow and it will return back to Kinesis screen.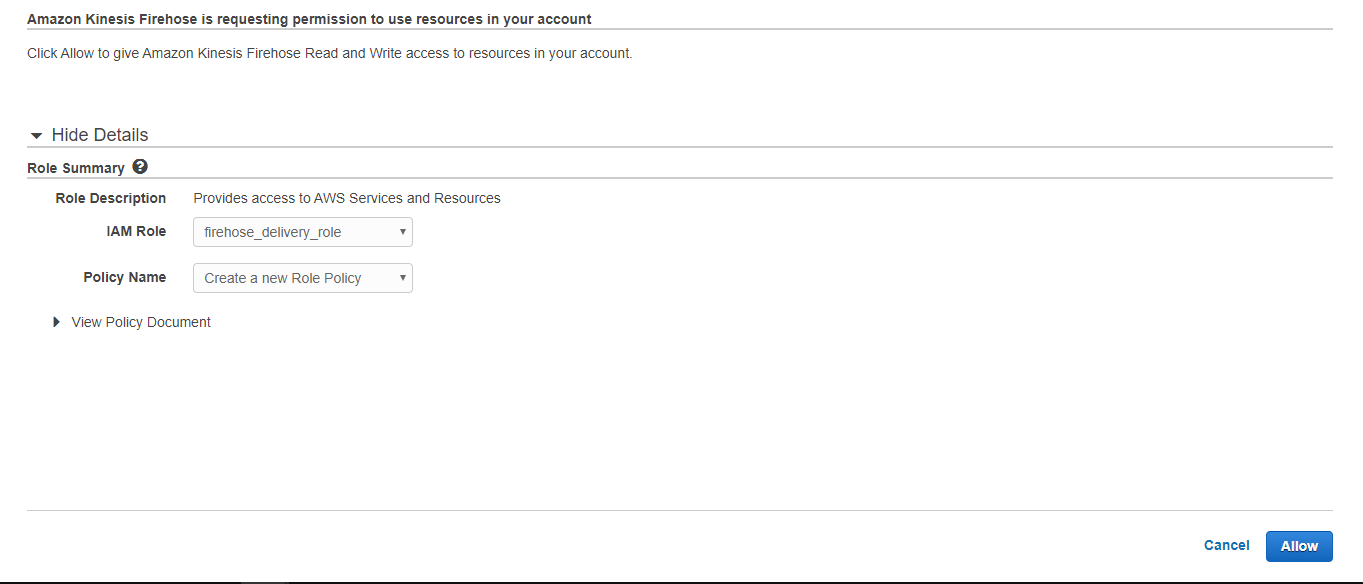
 h. On the next page, review the details provided and create the delivery stream. Yes, you have successfully created the Kinesis Data Firehose delivery stream.
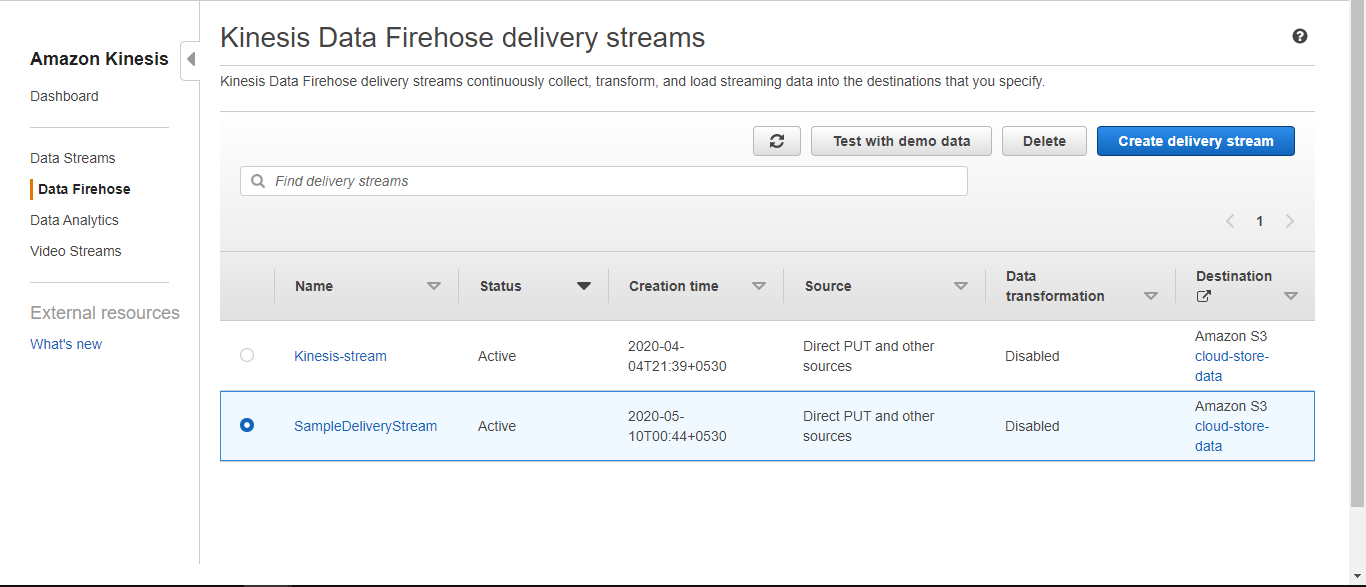
 i. Test the Kinesis by sending a demo data and verify if the data is sent to S3 bucket.
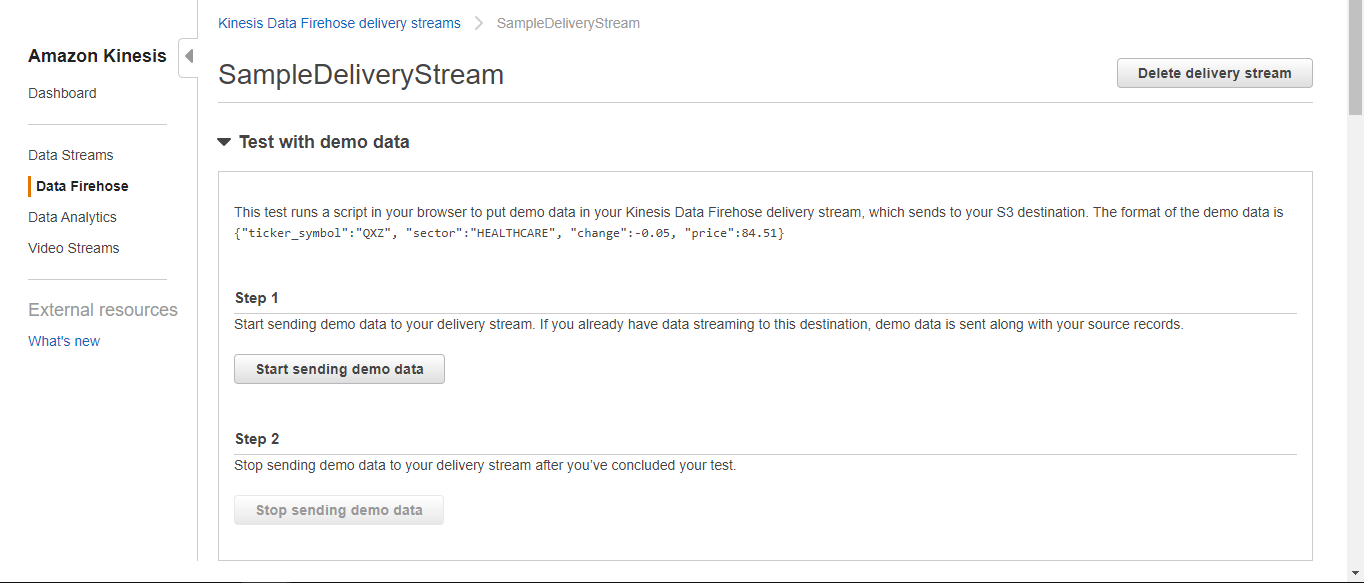


3) Configure the Kinesis agent
- a. Install the Kinesis agent on the instance to use the Kinesis Data Firehose.
$ sudo yum install –y aws-kinesis-agent
b. After installing the Kinesis agent, update the json file available in the path /etc/aws-kinesis/agent.json as the below code.
{
  "cloudwatch.emitMetrics": true,
  "cloudwatch.endpoint": "monitoring.us-east-2.amazonaws.com",
  "firehose.endpoint": "firehose.us-east-2.amazonaws.com",

  "flows": [
    {
      "filePattern": "/var/log/httpd/access_log",
      "deliveryStream": "SampleDeliveryStream"
    }
  ]
}
Make sure the “filePattern” consists of the log file path and “deliveryStream” consists of created firehose name.
c. Run the Kinesis agent on the instance. Here we configure the agent such that for each reboot of the system, the Kinesis agent starts to run.$ sudo chkconfig aws-kinesis-agent on
That’s it, we have successfully created a delivery stream using the Amazon Kinesis Firehose for S3. You can test by hosting the above sample website on multiple browsers or do some click activity on the website (Public IP/EstateAgency), the related logs will be collected on the listed S3 bucket.
I hope this blog helps you in understanding the Kinesis Data Firehose. With this example, I hope you will be able to collect real-time streaming data based on the requirement. Follow the documentation to go more in-depth on the Amazon Kinesis Firehose.
I have around 3 years of experience in Software testing. After completing my BE in Information Science and Engineering, Qxf2 Services gave me an opportunity to start my career, worked as QA Engineer (Intern) for 4 months and gained good knowledge on Software testing. Later I worked as a manual tester at MicroGenesis TechSoft Pvt. Ltd for 2 years 7 months where I worked for a reputed client on a healthcare project. I enjoy testing a product, finding bugs and learning new concepts. Now I joined back to Qxf2 Services and learning new things and scaling up on technical concepts. My hobbies are listening to music, watching movies, traveling and playing cricket.


Amazing Blog, Helped me setup to capture real-time logs from my website.
Nice bro…. it helps a lot