We have been exploring Wallaroo, a framework that makes it easy to handle streaming data and write event processing applications quickly. Wallaroo’s examples and documentation are excellent. They cover the core concepts well. But their documentation is sparse for certain tools that Wallaroo has developed to make it easy to independently test the developed application. One such example is the Giles Sender that is used in all the examples. This post is for folks who want to know Giles Sender better.
Overview
1. Setup
2. Generate an input binary file
3. Run sender and check the output
4. Rerun the sender
5. Send an exact number of messages in our input binary file
6. Control the batch size and interval
7. Repeat your messages
1. Setup
We will rely on Wallaroo’s existing alphabet application to help us understand the Giles Sender better. To follow along, make sure you are setup with Wallaroo + Python in Docker. The setup instructions are clear and easy to follow.
Note: In the steps below, we are making you open up multiple terminal prompts – one each for the sender, receiver and the application. We are doing this to make it extremely clear about what each component is doing.
Once you are done with the Docker setup
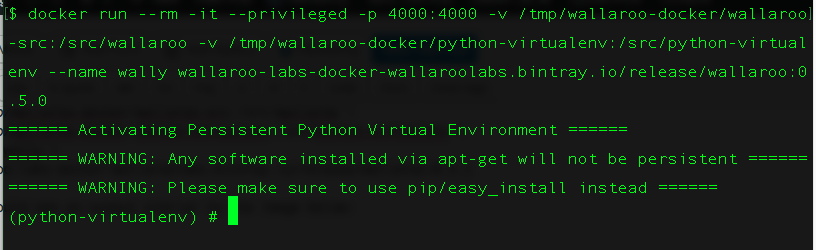
a. Start the Docker container by running the command:
docker run --rm -it --privileged -p 4000:4000 \ -v /tmp/wallaroo-docker/wallaroo-src:/src/wallaroo \ -v /tmp/wallaroo-docker/python-virtualenv:/src/python-virtualenv \ --name wally \ wallaroo-labs-docker-wallaroolabs.bintray.io/release/wallaroo:0.5.1 |
You should see an output similar to the image below:
b. Start the data receiver
In a new terminal prompt, enter the container
docker exec -it wally env-setup |
You should see the prompt within the container. In the prompt of the Docker container, start the receiver:
data_receiver --ponythreads=1 --ponynoblock \ --listen 127.0.0.1:7002 |
Leave this terminal prompt open. Once we run our application and start our sender, you will see the result of sending messages to our alphabet application on this prompt.
c. Start the alphabet application:
In a new terminal prompt, as usual, enter the container
docker exec -it wally env-setup |
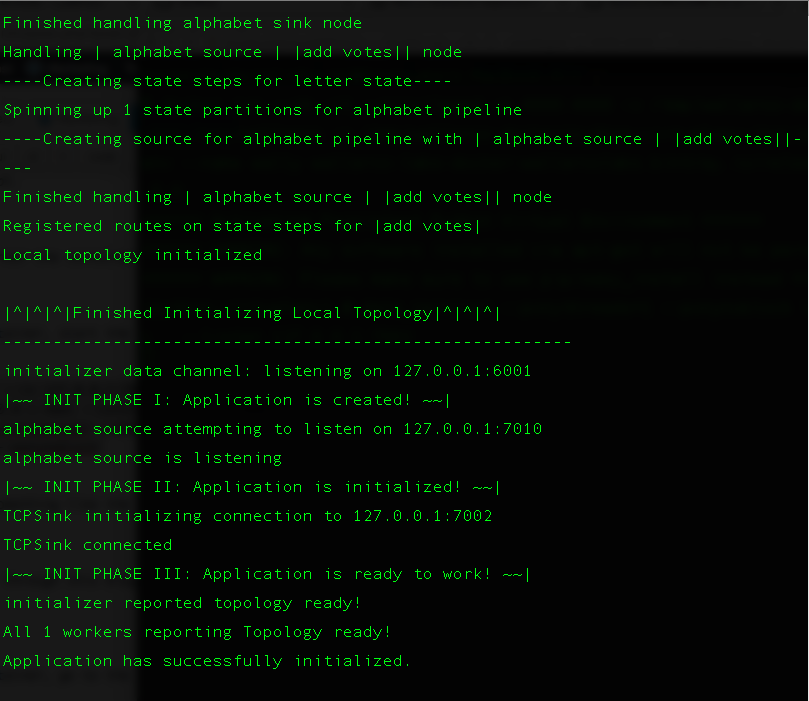
Then, in the prompt of the Docker container, start the application:
machida --application-module alphabet --in 127.0.0.1:7010 \ --out 127.0.0.1:7002 --metrics 127.0.0.1:5001 --control 127.0.0.1:6000 \ --external 127.0.0.1:5050 --cluster-initializer --data 127.0.0.1:6001 \ --name worker-name --ponythreads=1 --ponynoblock |
You should see an output that looks something like the screenshot below:
d. Prepare the sender:
We will be using this terminal prompt through this blog post. In a new terminal prompt, as usual, enter the container
docker exec -it wally env-setup |
Then, in the prompt of the Docker container, go to the alphabet application’s directory
cd wallaroo/examples/python/alphabet/ |
This is the terminal prompt we will use in all subsequent steps.
2. Generate an input binary file
Wallaroo’s alphabet application uses a votes.msg file as input. We will produce our own input binary file with limited data. This will make it easy for us to predict the output and thereby easily associate the output result with the changes we make when calling the sender.
The alphabet application expects 9-byte messages:
a) a 4-byte header that has just the length of the payload
b) a 1-byte alphabet
c) a 4-byte number that represents the number of votes for the alphabet
To make things easy for us, we will design the file to have 52 messages. The first 26 messages will be an alphabet and the number 1. The second 26 messages will be an alphabet and the number 2.
Save the following code as (say) generate_binary_votes.py in your /src/wallaroo/examples/python/alphabet directory.
""" A scratch script to produce a file similar to votes.msg for Wallaroo's alphabet application DESIGN: 1. Open a file fake_votes.msg in binary format 2. Write 5 byte messages alphabet,vote 3. Prepend a header with the number 5 (unsigned int) in it because all messages are 5 bytes 4. Write this binary string to a file 5. To make it easy to test for correctness, we will design the file to have only 52 messages 6. The first 26 messages will be an alphabet and the number 1 7. The second 26 messages will be an alphabet and the number 2 """ import string import struct def generate_alphabet_input(filename): "Generate a binary file with alphabets and votes" alphabets = list(string.ascii_lowercase) with open(filename,'wb') as fp: for i in range(1,3): for alphabet in alphabets: msg = struct.pack('>IsI',5,alphabet,i) fp.write(msg) #----START OF SCRIPT if __name__=='__main__': generate_alphabet_input('fake_votes.msg') |
Now, run the python script to produce a new 468 byte (=52*9) binary input file called fake_votes.msg.
python generate_binary_votes.py |
At the end of this step, you should have a fake_votes.msg file in your current directory.
3. Run sender and check the output
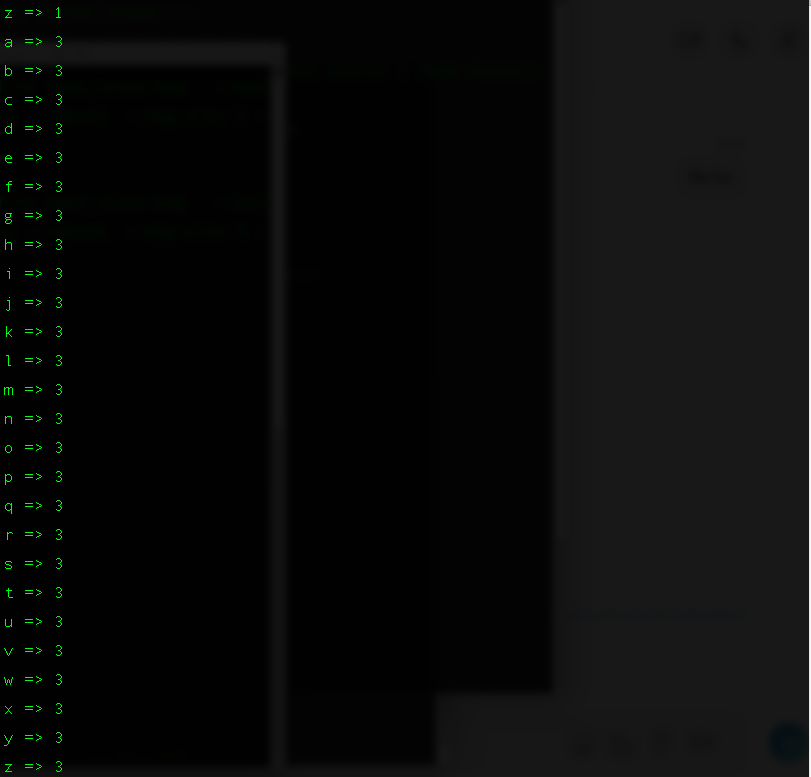
Let us run sender and make sure we have a useful input file. We will set the messages argument to be 52 to send all messages in the file. This will make it clear that the messages in our file are being relayed and processed correctly. We expect every alphabet to have a vote count of 1 after the first 26 messages and a vote count of 3 (=1+2) once the second half of our input file has been processed. To do this, on your sender’s terminal prompt, run the following command:
sender --host 127.0.0.1:7010 --file fake_votes.msg \ --messages 52 --binary --msg-size 9 --ponythreads=1 \ --ponynoblock --no-write |
Observe the output in the receiver’s terminal prompt. You may need to scroll through. You will notice the first 26 lines of the output show each alphabet with a score of 1. The next 26 messages will show each alphabet listed with a score of 3.
4. Rerun the sender
We are going to rerun the sender. Why?? To verify that the state is saved and that the votes get updated when new messages come along.
sender --host 127.0.0.1:7010 --file fake_votes.msg \ --messages 52 --binary --msg-size 9 --ponythreads=1 \ --ponynoblock --no-write |
Observe the output in the receiver’s terminal prompt. The final values of votes for each alphabet should be 6 (=3+3). The vote count before we reran the sender was 3 and by running the sender, we added 3 (=1+2) more votes to each alphabet.
5. Send an exact number of messages in our input binary file
The sender allows you to specify exactly how many messages should be sent to the application. In this step, we will send only 26 messages even though we have 52 messages in it.
sender --host 127.0.0.1:7010 --file fake_votes.msg \ --messages 26 --binary --msg-size 9 --ponythreads=1 \ --ponynoblock --no-write |
The first 26 messages in our file have an alphabet and the number 1. That means, we expect the vote count in our output to be 7 (=6+1) once we run the above command.
6. Control the batch size and interval
Sometimes, when testing our streaming application, we end up using really large files. It makes little sense to read or process the entire file all at once. So Giles Sender allows us to control the rate at which to send input messages by providing two arguments – batch-size and interval. The batch-size argument is helpful when you are reading really large input files that cannot be processed all at once. Our example is laughably small and does not lend itself to illustrating this use case well. Instead, we will make our interval really large (1-second) to illustrate that the output gets updated by a batch-size number of messages per interval nanoseconds. To do so, run the following command
sender --host 127.0.0.1:7010 --file fake_votes.msg \ --batch-size 1 --interval 1_000_000_000 --messages 52 \ --binary --msg-size 9 --ponythreads=1 --ponynoblock --no-write |
If things are going well, you will observe that every one second (or 1_000_000_000 nano-seconds), you will see one updated message on your receiver screen. If you had set batch-size to 2, you would have seen two updated messages every second. At the end of this step, the vote count for each alphabet should be 10 (=7+3).
7. Repeat your messages
There is another common use case when testing a streaming application. You need to use a small set of well-designed messages and repeat them many times. To do this, you can simply use the repeat argument. In this example, we will send 520 messages by simply using the 52 messages we created. To do so, run
sender --host 127.0.0.1:7010 --file fake_votes.msg \ --messages 520 --binary --msg-size 9 --repeat \ --ponythreads=1 --ponynoblock --no-write |
At the end of this step, the final vote count for each alphabet should be 40 (=10 + 3*10)
By creating a simple input file and then playing around with the messages, batch-size, interval and repeat arguments, we managed to understand how to use the Giles Sender better to test streaming applications written with Wallaroo.
References
I want to find out what conditions produce remarkable software. A few years ago, I chose to work as the first professional tester at a startup. I successfully won credibility for testers and established a world-class team. I have lead the testing for early versions of multiple products. Today, I run Qxf2 Services. Qxf2 provides software testing services for startups. If you are interested in what Qxf2 offers or simply want to talk about testing, you can contact me at: [email protected]. I like testing, math, chess and dogs.

