Problem: Maintaining infrastructure for Selenium cross browser checks is time consuming.
At Qxf2 Services, we use Selenium and Python for UI testing of web applications. Recently, we evaluated using BrowserStack to run our automated checks against different browsers. BrowserStack gives you access to all desktop as well as mobile browsers anytime and from anywhere. It gives instant access to 300+ desktop and mobile browsers on different Windows, Mac & mobile OS flavors. BrowserStack Automate supports running your Selenium tests in different languages like Python, Ruby, Java, C#, PHP, Perl and Node.js and also support CI tools like Jenkins, Travis and Circle.
BrowserStack: Selenium automation on the cloud!
Maintaining infrastructure for cross browser testing is *hard*. You need to maintain physical servers, virtual machines, different operating systems, emulators, different versions of different browsers, continuously adapt to an ever changing list of different mobile devices, etc. The maintenance work is an extra overhead on our testers and takes away time from what our testers do well – thinking and testing software. In a previous series we showed you how to get started with Sauce Labs. Given the positive reception and our desire to get more testers using cloud based infrastructure, we have decided to write a series of blog posts helping you get started with BrowserStack. We also show you the changes you need to make to easily integrate it with your current suite of automated Selenium checks.
Get started with BrowserStack
This section will show you how to run your Selenium automated checks on BrowserStack’s cloud testing platform a.k.a BrowserStack Automate. We provide you with a working example of a Selenium automated check. The automated check will run on a mobile device of our choice. In future blog posts we will show you how to modify your tests so they run across different browsers in parallel.
1. Sign up for a BrowserStack account
2. Get your Access Key
3. Write a test you want to run on the cloud
4. Modify your script to run on BrowserStack
5. Run the test
6. Check the result
A step by step guide
STEP 1: Sign up for a BrowserStack account. You get a free 100 minutes of testing on BrowserStack Automate.
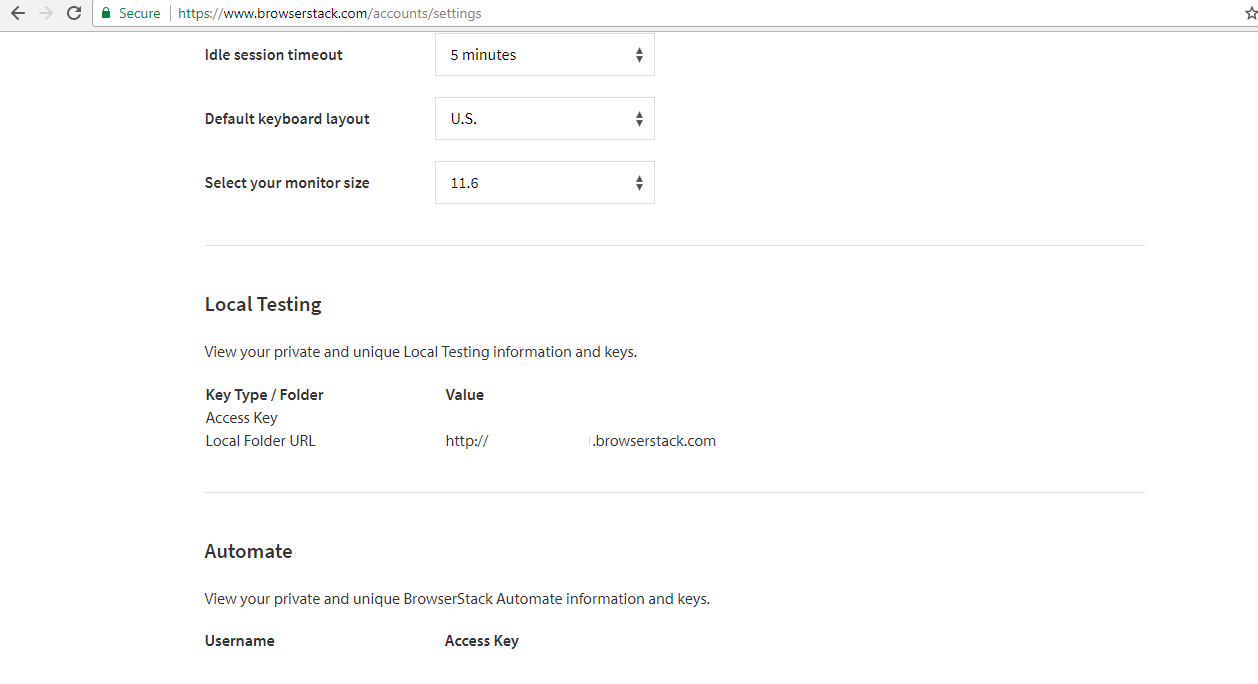
STEP 2: Get your Access Key
Once you login to your BrowserStack account, navigate to your Account settings to view your private and unique BrowserStack Automate information and keys. We will be using this access key in combination with your username to interact with BrowserStack.
STEP 3: Write a test you want to run on the cloud
At Qxf2 Services we love playing chess. For this example we are going to execute a Selenium test that visits http://www.chess.com/ assert the title page and click on Sign up button. Here is the code snippet:
import unittest, time from selenium import webdriver from selenium.webdriver.common.keys import Keys from selenium.webdriver.common.desired_capabilities import DesiredCapabilities class SeleniumOnBrowserStack(unittest.TestCase): "Example class written to run Selenium tests on BrowserStack" def setUp(self): self.driver = webdriver.Firefox() def test_chess(self): "An example test: Visit chess.com and click on sign up link" #Go to the URL self.driver.get("http://www.chess.com") # Assert that the Home Page has title "Chess.com - Play Chess Online - Free Games" self.assertIn("Chess.com - Play Chess Online - Free Games", self.driver.title) # Identify the xpath for Play Now button which will take you to the sign up page elem = self.driver.find_element_by_xpath("//a[@title='Play Now']") elem.click() time.sleep(5) # Print the title of sign up page print self.driver.title def tearDown(self): self.driver.quit() if __name__ == '__main__': unittest.main() |
STEP 4: Modify your script to run on BrowserStack
The magic occurs in this step. Let’s make the test run on iPhone 7. Change your setup method to look like the code below, where $USERNAME is your username and $ACCESS_KEY is the access key you obtained in Step 2.
desired_cap = { 'device': 'iPhone 7','realMobile': 'true', 'platform': 'iOS','browserName': 'safari', 'browserstack.debug': 'true' } self.driver = webdriver.Remote(command_executor='http://USERNAME:[email protected]:80/wd/hub',desired_capabilities=desired_cap) |
Note: Setting desired_cap ‘browserstack.debug’: ‘true’ helps us to capture visual logs
STEP 5:Run the test
You can run the test script the normal way you do. We run it via the command prompt.

STEP 6: Check the result
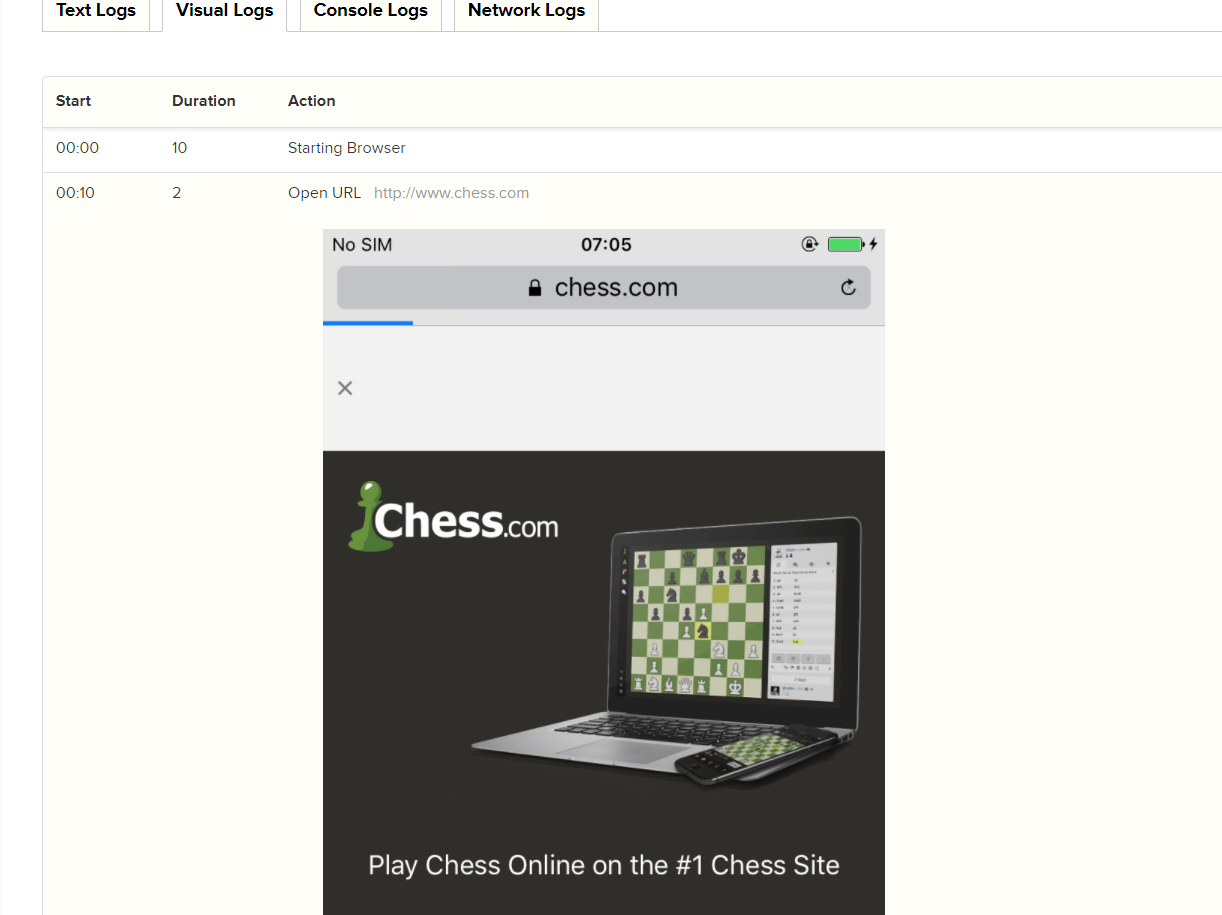
You can see the results on your web account. Login to your account and you should see a result table like the screenshot below.

Once the test is completed, you can also look at the visual logs in case ‘browserstack.debug’ is set to ‘true’
There you have it! A whirlwind tour of getting started with BrowserStack.

I am a dedicated quality assurance professional with a true passion for ensuring product quality and driving efficient testing processes. Throughout my career, I have gained extensive expertise in various testing domains, showcasing my versatility in testing diverse applications such as CRM, Web, Mobile, Database, and Machine Learning-based applications. What sets me apart is my ability to develop robust test scripts, ensure comprehensive test coverage, and efficiently report defects. With experience in managing teams and leading testing-related activities, I foster collaboration and drive efficiency within projects. Proficient in tools like Selenium, Appium, Mechanize, Requests, Postman, Runscope, Gatling, Locust, Jenkins, CircleCI, Docker, and Grafana, I stay up-to-date with the latest advancements in the field to deliver exceptional software products. Outside of work, I find joy and inspiration in sports, maintaining a balanced lifestyle.


HI
Is it possible to display the Test?Scenario name in browser stack
Thanks
Hi Himani,
I think it would be possible to display it in browserstack. You can refer to Test configuration capabilities in this link.
Hope it helps you